ServicesSolar Panel Installation
Solar Panel Installation in Garland
We design and install solar systems for your home with the same care at the roof edge as on the array itself. Every mount is set into a rafter and flashed. Every wire is supported off the shingles. Then the system is commissioned before we call it done.
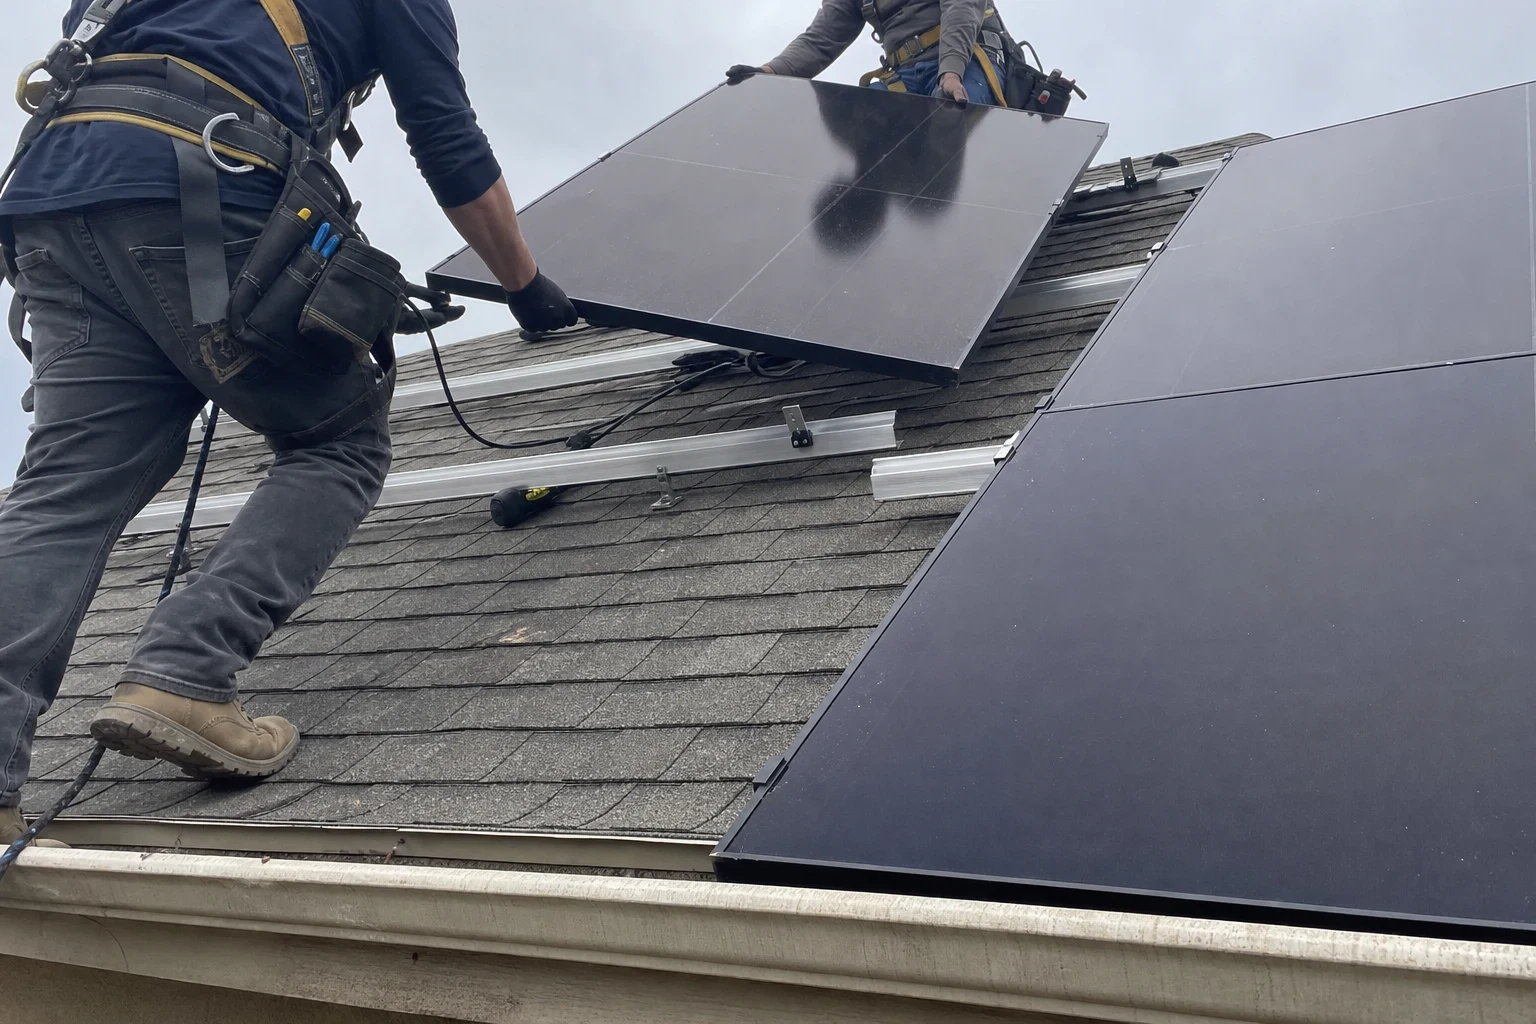
A solar system is only as good as its smallest parts
Most solar problems we see years later don't start with the panels. They start with a lag bolt that missed the rafter, a mount sealed with caulk instead of flashing, or a wire left resting on hot shingles where it slowly wears through. Those are installation details, and they decide whether a system quietly produces power for decades or turns into a repair call.
Our approach to solar panel installation is to treat those details as the main event. We size the system to your actual usage, lay out the array around vents and roof edges, and finish the electrical work so it is labeled, tidy and easy for any future technician to follow.
What the installation includes
Usage review and system design
We look at a year of your electric bills, your roof planes and any shading from trees or neighboring structures. The design you get shows panel placement, inverter location and the expected yearly production, in plain terms.
Roof check before anything is mounted
We inspect the shingles, decking and attic framing where the array will sit. If the roof has only a few years left, we tell you plainly, because removing and reinstalling panels later costs more than waiting.
Flashed, rafter-anchored mounts
Each attachment is located on a rafter, pre-drilled, sealed and covered with metal flashing that sheds water under the shingle course above it. Racking rails are leveled so the finished array sits flat and even.
Wire management and conduit
Panel wiring is clipped to the rails, never left on the roof surface. Conduit runs are kept straight and neat along the house, painted to match where it makes sense, and sealed where they enter.
Inverter, disconnects and labeling
We mount the inverter or install microinverters, set the required disconnects and label every component to code, so inspectors and future technicians can read the system at a glance.
Permits, inspection and utility approval
We apply for the building permit, stay on site while the inspector reviews the work and prepare the interconnection application your electric utility requires. None of that paperwork lands on your kitchen table.
Signs solar panel installation makes sense for your home
- Summer bills that keep climbing
- If air conditioning drives your bills up from June through September, solar production lines up well with those long, bright afternoons.
- A roof with good years left
- A sound roof with plenty of life ahead is the best foundation for an array that should stay put for a long time.
- Open south or west roof planes
- Roof faces with little shade from trees or neighboring structures produce the most. East-facing planes can still work well, and we'll show you the difference in the design.
- You plan to stay a while
- Solar rewards owners who will live with it for years, as savings build over time.
- An electric vehicle or added load ahead
- If you're adding an EV charger or other electric load, sizing the system for it now is simpler than expanding later.
How the work runs, start to finish
- 1
A phone call, then a visit
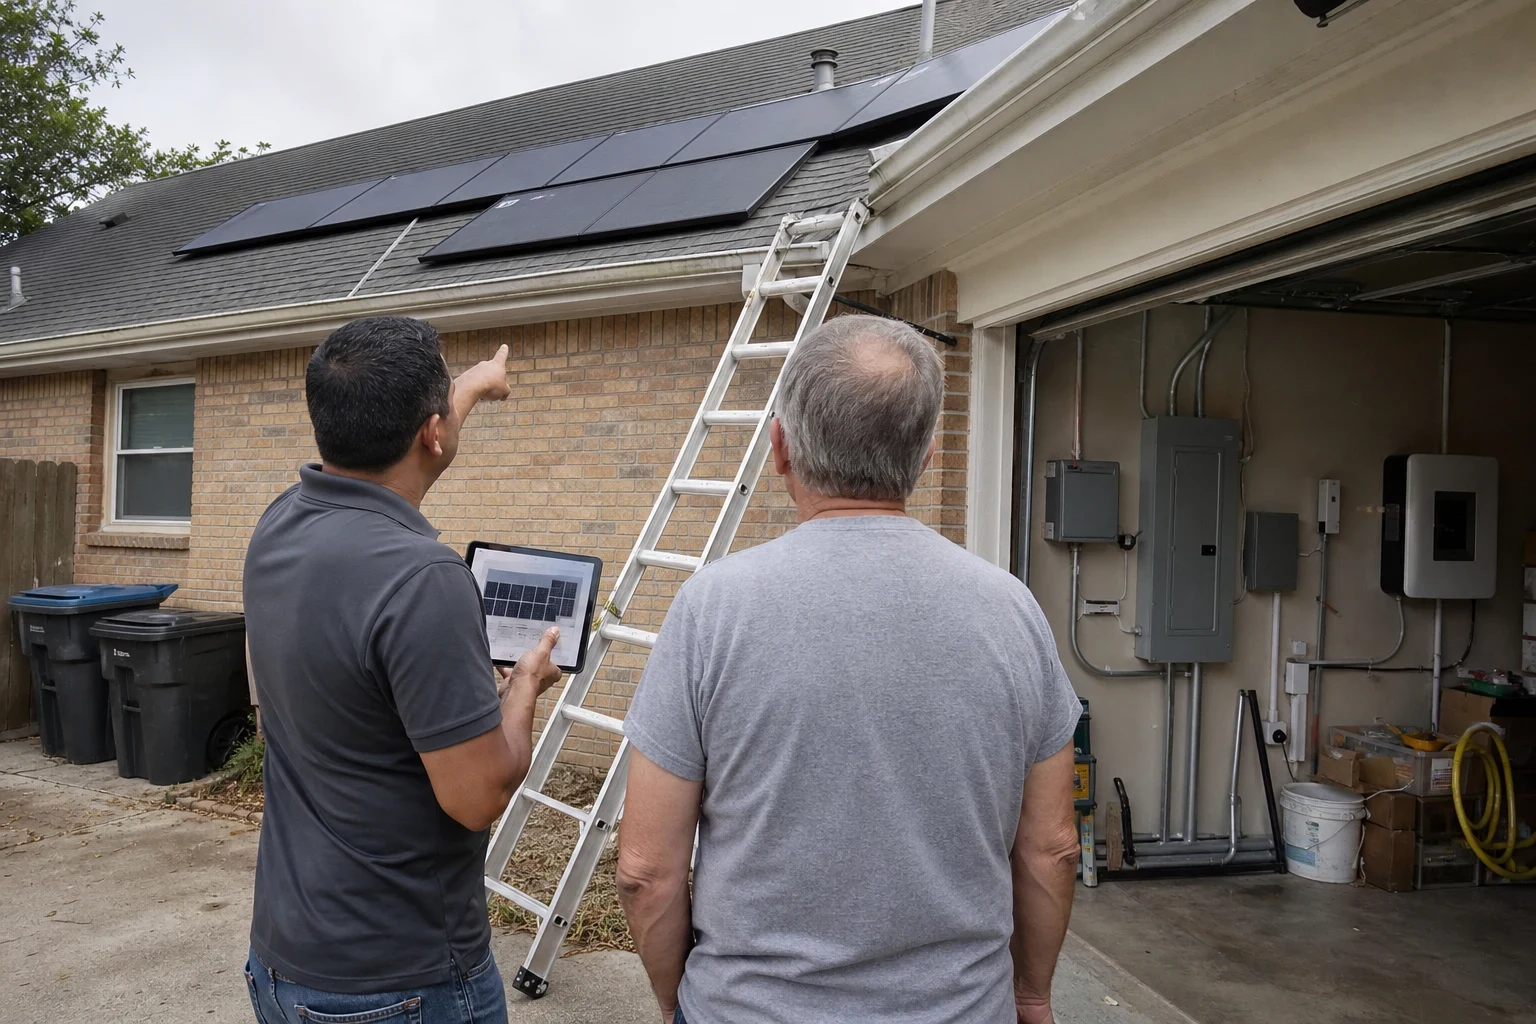
We start by hearing what you want the system to do. Then we come out to measure each roof plane, confirm rafter spacing from inside the attic and see how much capacity your breaker box has to spare.
- 2
Array drawing and line-by-line estimate
You get a drawing of where every panel goes and an estimate broken out item by item. We go over both together and move panels around until you like how the array will look from the street.
- 3
Permits and scheduling
Our office prepares the permit application and the utility forms. Once both approvals come back, we call you to agree on an install date.
- 4
Installation day
Most homes take one to three days on the roof. Our crews use fall protection and careful roof practices, and we hold the Liberty Mutual Platinum Safety Award. We protect landscaping below the work area and sweep the yard for screws and debris before leaving each day.
- 5
Inspection and switch-on
When the inspector has signed off and the utility grants permission to operate, we power up the array, check that each panel is reporting and show you how to read your monitoring app.
What goes into the price of your system
Houses side by side can end up with very different prices. Panel count is part of it, along with how difficult the roof is to work on and what your electrical service can take. Each item appears on your estimate, so nothing pops up later.
- Size of the system
- The share of your usage you want to offset decides how many panels you need, and that is the biggest piece of the price.
- Roof pitch, shape and material
- Steep roofs, several small roof faces and tile or metal surfaces take longer and need different hardware than a plain shingle roof.
- State of your electrical panel
- An older or crowded panel may need upgrading before it can safely take a solar connection. We look at this on the site visit.
- The equipment you pick
- More efficient panels carry a higher price each. Choosing microinverters on every panel or one shared central inverter also changes the cost, and so does adding battery storage.
- Permit and utility needs
- Permit fees and any meter or disconnect work the utility requires show up as their own lines.
Your questions about going solar
- Can panels on my roof lead to leaks?
- A mount with proper flashing sheds rain just like your shingles do. Most leaks come from mounts held with caulk alone or bolts that missed a rafter. We find each rafter, seal every hole and put flashing on every attachment.
- What does North Texas hail do to panels?
- Most panels use tempered glass rated for hail and tend to protect the shingles underneath. A severe storm can still damage equipment, so adding the system to your homeowner's policy is a good idea. Our Solar Repair page covers how we check a system after storm damage.
- When will my system start making power?
- Work on the roof usually takes one to three days. Permits, inspection and utility approval add time before and after, and we let you know where things stand at every step.
- Is my HOA allowed to block solar?
- Texas law restricts how far an HOA can go in banning solar, though many boards still review where panels go. We can draw up the layout plans your association requests.
- Does a solar system need a battery?
- No. Most systems run tied to the grid with no battery. One is useful if you want backup during an outage, and it can be installed with the panels or added down the road.
- Do you work outside Garland?
- Yes. Our crews also install in nearby towns such as Rowlett, Sachse, Richardson and Wylie.
Talk through your roof and your usage
Tell us about your home and your electric bills, and we'll explain what a well-built system would look like on your roof. The conversation starts with one phone call.